Bad Weather, Great Photos: 10 Tips for Shooting in Rain, Snow, Mist & Storms
As landscape photographers, I think we’ve all experienced that moment of intense disappointment arriving at a location we’ve been looking forward to photographing, only to find that the weather isn’t AT ALL what we wanted. The mountains have disappeared behind low cloud, it’s raining, the sky is grey and the forecast doesn’t look like it’s going to improve anytime soon. It’s very easy to assume the shoot is a complete waste of time, so we turn around and head home.
But over the years I’ve come to realise that some of my favourite images have been made in conditions we might consider totally unsuitable for great results.
Rain, snow, mist and stormy skies can completely transform a landscape. Waterfalls and rivers can spring to life and offer better flow after heavy rain, snow can add an element of simplicity to the colour palette and mist can highlight solitary subjects or create beautiful layers as it moves through mountains and forests. Dark storm clouds can add far more drama to an image than clear blue skies or pretty pastel high cloud, and those brief moments when the sun breaks through after rain can produce opportunities for rainbows and shafts of light. Sometimes not being able to see everything in the scene is EXACTLY what makes the photo work.

The Hollyford River flows down a valley surrounded by mist clearing to reveal waterfalls and impressive vertical cliffs in Fiordland
The trick is to stop thinking of weather as either good or bad and start thinking about what opportunities the conditions in front of you could offer.
So rather than putting the camera away when the forecast looks less than ideal, I’m sharing my Top 10 Tips for making the most of Rain, Snow, Mist and Stormy conditions, so you can come home with great shots BECAUSE the weather wasn't perfect.
Tip #1: Embrace bad weather rather than avoid it
Changeable weather creates MORE possibilities. Clouds are moving, light is appearing and disappearing, mist can form and lift, and the landscape can look completely different from one minute to the next. You might have soft, muted light one moment and then suddenly a shaft of sunlight highlights one part of the landscape while everything around it remains dark.
For me, that's one of the most exciting things about photographing in unsettled weather: the more changeable the conditions, the greater the chance of capturing something unique. A clear-sky photograph of a famous location can be easily recreated, but combinations of cloud, mist, rain and fleeting light may last only a few minutes, or even a few seconds - NEVER TO BE REPEATED AGAIN!
Here’s what unsettled weather can add to your images:
Mood and atmosphere
Drama in the sky
Soft, even light
Separation between landscape layers
Lusher, more vibrant colours on wet surfaces
Less harsh contrast
More interesting waterfalls and streams
And there's another bonus to heading out when the weather isn't looking particularly inviting: you'll often have locations to yourself. While everyone else is waiting for the weather to improve, you’ll already be in position if something special happens.
So when you look at the forecast, try not to see rain, cloud or mist as a reason not to go. Instead, ask yourself: what could these conditions allow me to capture?
Tip #2: Shooting in the rain
Rain can completely transform a landscape - making colours and textures far more interesting than they are in dry conditions, and improving the flow of waterfalls and rivers to enhance a scene, though sometimes too much flow can ruin a shot so there is a balance to be found! Forests and more intimate landscapes within them work well plus they have the added benefit of providing cover for you and your gear from the elements. Fiordland and the West Coast are great examples of landscapes that are often at their best in the rain.

Lake Wahapo, West Coast captured on a very rainy afternoon, the trees standing out against a subtly disappearing background landscape due to the heavy rain.
When shooting around waterfalls and rivers, think about how you want moving water to appear. Experiment with different shutter speeds depending on whether you want to retain texture and detail in the water or create a much softer, silkier effect like in the shot below. One advantage of shooting in darker, and even rainy conditions is that you'll often be able to achieve slower shutter speeds with just a circular polariser without even needing an ND filter. A circular polariser will also help cut reflections on wet foliage and rocks if you find these create too much harsh contrast for a balanced exposure.
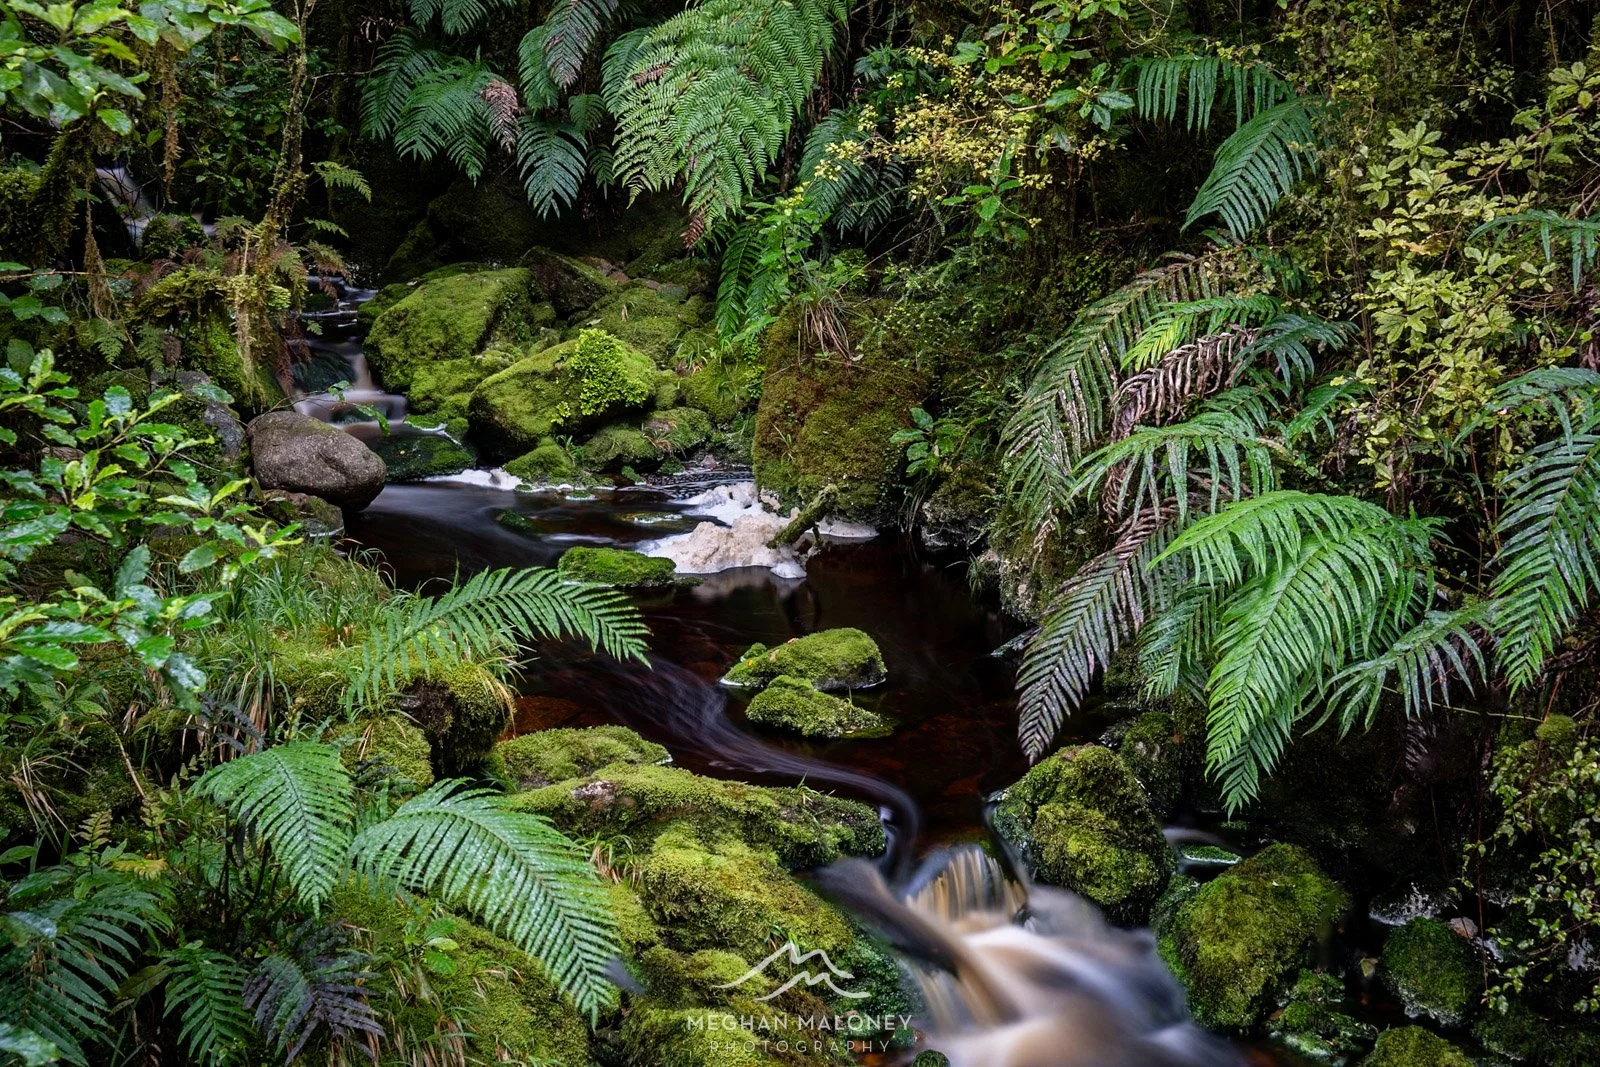
On a rainy day at Oparara, there’s opportunities to shoot intimate scenes like this dark tannin-stained river using a polariser to cut reflection from the surrounding foliage.
Of course, photographing in rain does also mean looking after your gear. Weather sealing doesn't make a camera waterproof, so use a lens hood and rain cover where possible and avoid changing lenses unnecessarily. Keeping your lens free of water drops is often the biggest challenge, so carry several clean microfibre cloths rather than relying on just one - once your only cloth is wet, it's not much use! When you finish shooting, make sure you dry your camera, lenses and tripod fully, you often don’t realise just how wet everything has become until you’re back safely in a dry location.
Tip #3: Shooting in snow
Snow can completely transform a familiar landscape, simplifying a busy scene, hiding distracting elements and creating beautiful clean areas of negative space. Even a relatively ordinary location can suddenly look completely different after fresh snow, and small areas of colour can become much stronger focal points when they're surrounded by an almost monochromatic landscape.
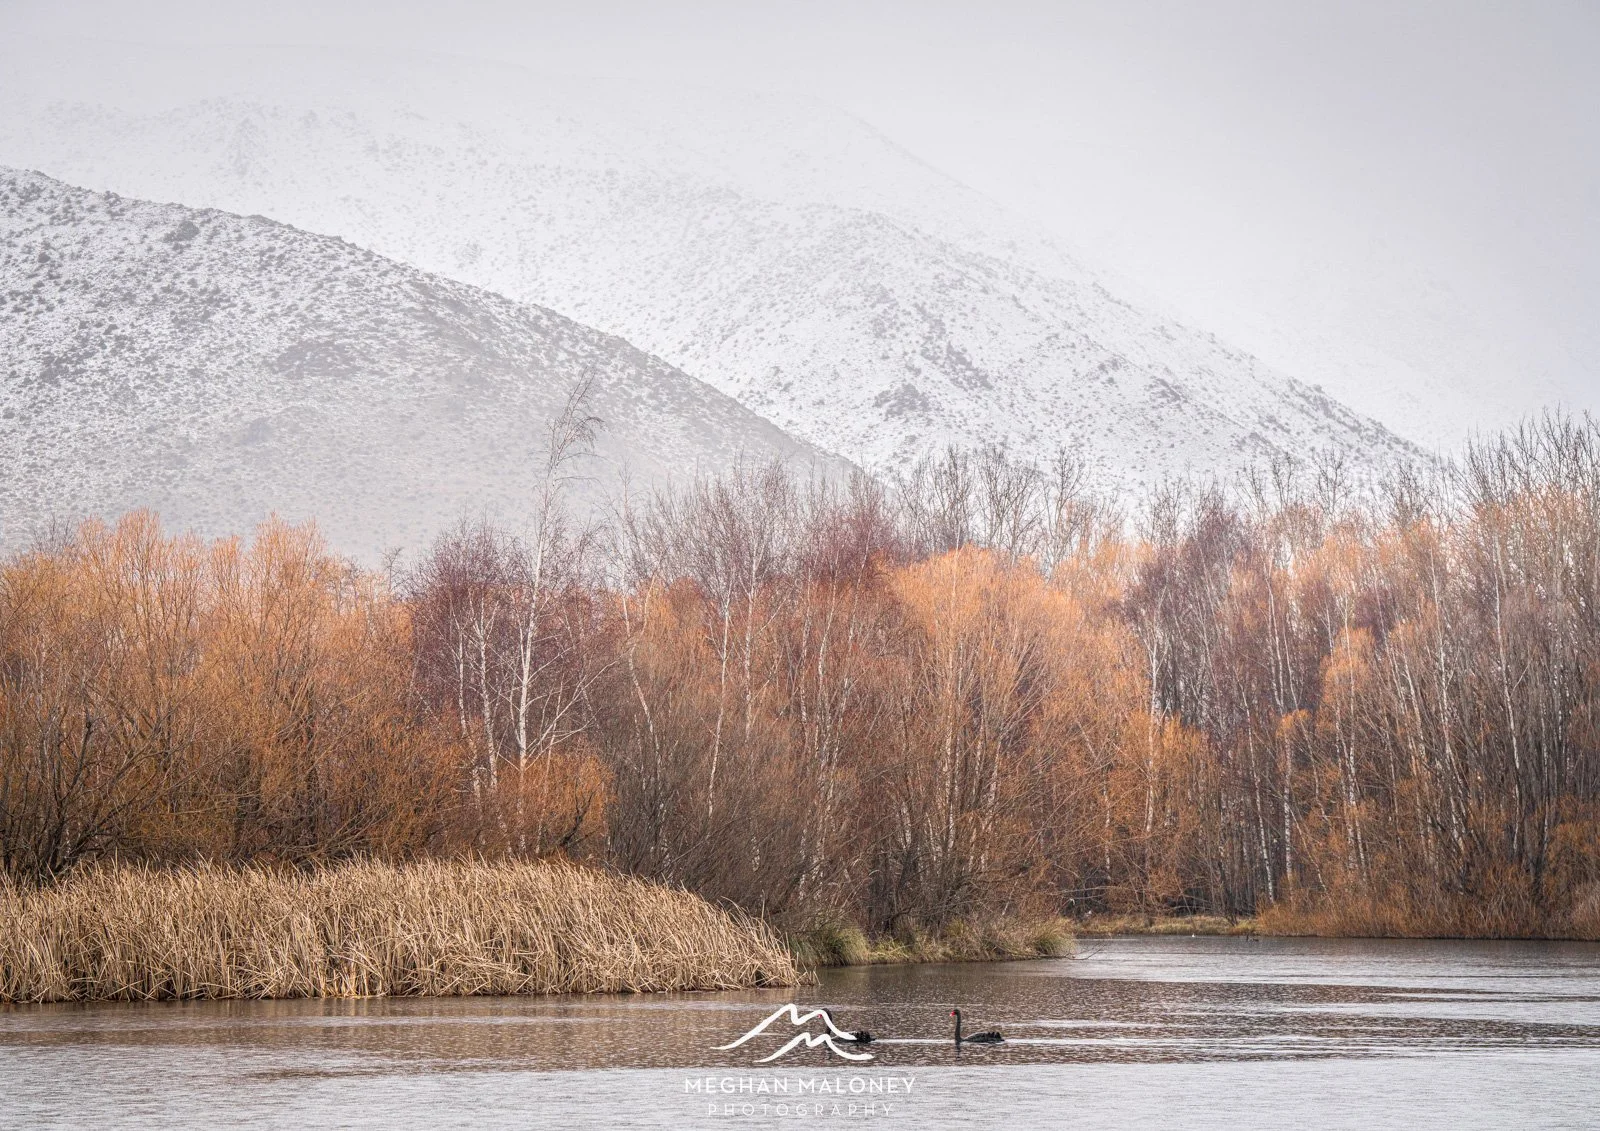
The grey, snowy day created a monochromatic contrast between the hills and the bright pops of colour in the bare trees on the bank.
Snow does need a little extra attention when it comes to exposure. Your camera's meter can be fooled by a scene dominated by bright white snow and try to make it darker, leaving your lovely white snow looking rather grey. Keep an eye on your histogram and increase your exposure if necessary, while still making sure you're not clipping those important highlights. On a sunny day the contrast between bright snow and shadows can almost be too challenging to shoot, whereas shooting WHILE IT IS SNOWING often produces beautifully soft light that makes it much easier to retain detail throughout the scene.
Tip #4: Shooting in mist and fog
Mist and fog are some of my favourite conditions for landscape photography because they have an amazing ability to simplify even the busiest scene. By hiding distracting elements and allowing parts of the landscape to disappear, fog can create beautifully simple compositions. Look for isolated trees, simple shapes, and places that offer a strong focal subject with a good amount of negative space. Fog is particularly good for minimalist photography because it allows you to leave so much out of the frame and concentrate your attention on just a few important elements.

The low fog at Wairepo Arm created an interesting symmetry in the hillside shapes and reflections of the trees on the lake edge.
One of the best things to look for in fog and mist is layers. Trees, mountains, hills and ridgelines that become progressively lighter and less distinct as they disappear into the distance create a great sense of depth. A telephoto lens such as a 70–200mm can work well, allowing you to isolate smaller sections of the landscape and compress those repeating layers together. Look for patterns of overlapping ridges, and rows of trees or shapes appearing and disappearing through the mist. The constantly changing conditions can give you a completely different composition within just a few minutes.
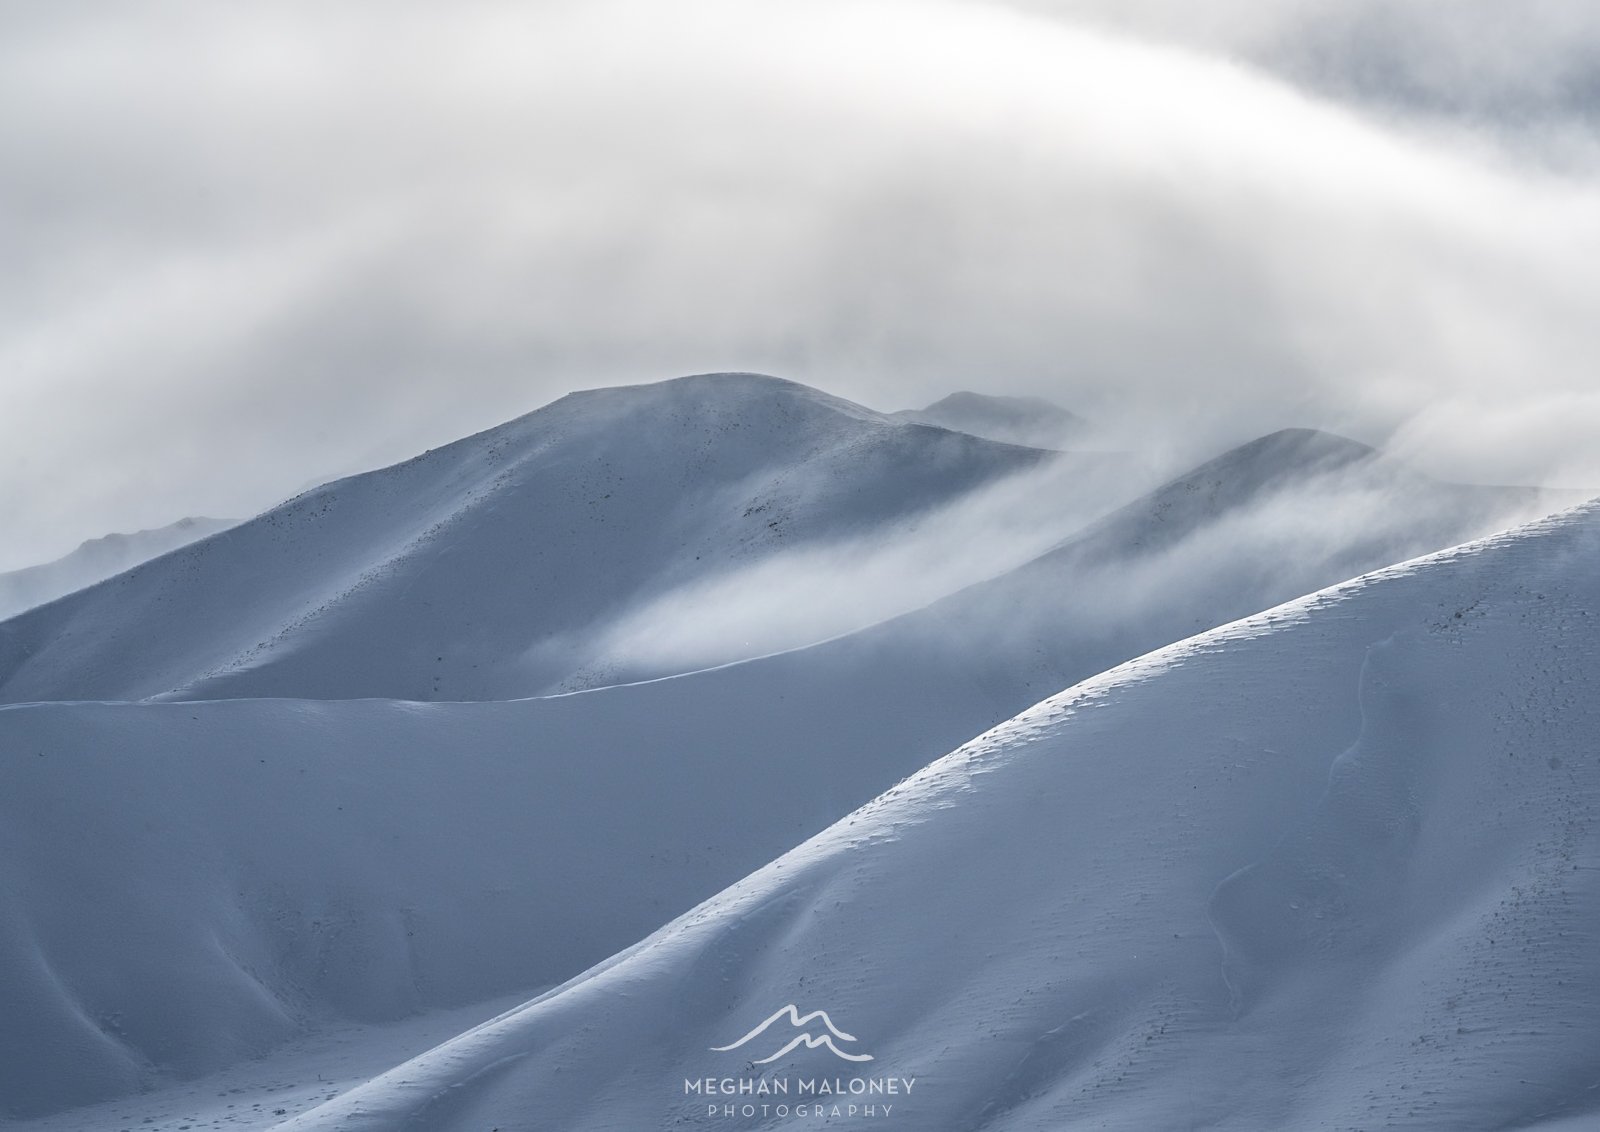
A combination of snow plus mist allows a simple scene of hillside shapes retreating into the distance to feature in this composition
Like shooting in snow, fog and mist also require a little extra attention to your settings. Because a camera's meter can be fooled by so much white/grey, it may underexpose the image, so keep an eye on your histogram and give your settings more exposure if needed. Autofocus can also struggle because fog often reduces contrast between elements, so if your camera is struggling, try placing your focus point on a clearly defined, high-contrast edge within the scene, and if that doesn’t work switching to manual focus can sometimes be the better solution.
Tip #5: Make the most of storms and changing weather
Stormy skies can completely change the balance of a landscape photograph because suddenly the sky becomes as important (if not MORE important) as the landscape beneath it. If the clouds are particularly dramatic, don't be afraid to limit your foreground. Instead, try composing with one-third land and two-thirds sky if that's where the real interest lies. Look for strong cloud shapes, texture, shafts of light and areas of contrasting brightness that help lead the eye through the frame.
Some of the most exciting conditions happen during the transition as a weather system arrives or clears. Rain followed by sunshine, a storm approaching while the landscape is still lit by the sun or leaving as cloud begins to break apart can create wonderful combinations of golden light, dark storm clouds, shafts of light, highlighted rain and sometimes even rainbows. Around sunrise or sunset, even a relatively small gap between the cloud and the horizon can be enough for the sun to light the landscape from underneath a much larger bank of cloud.
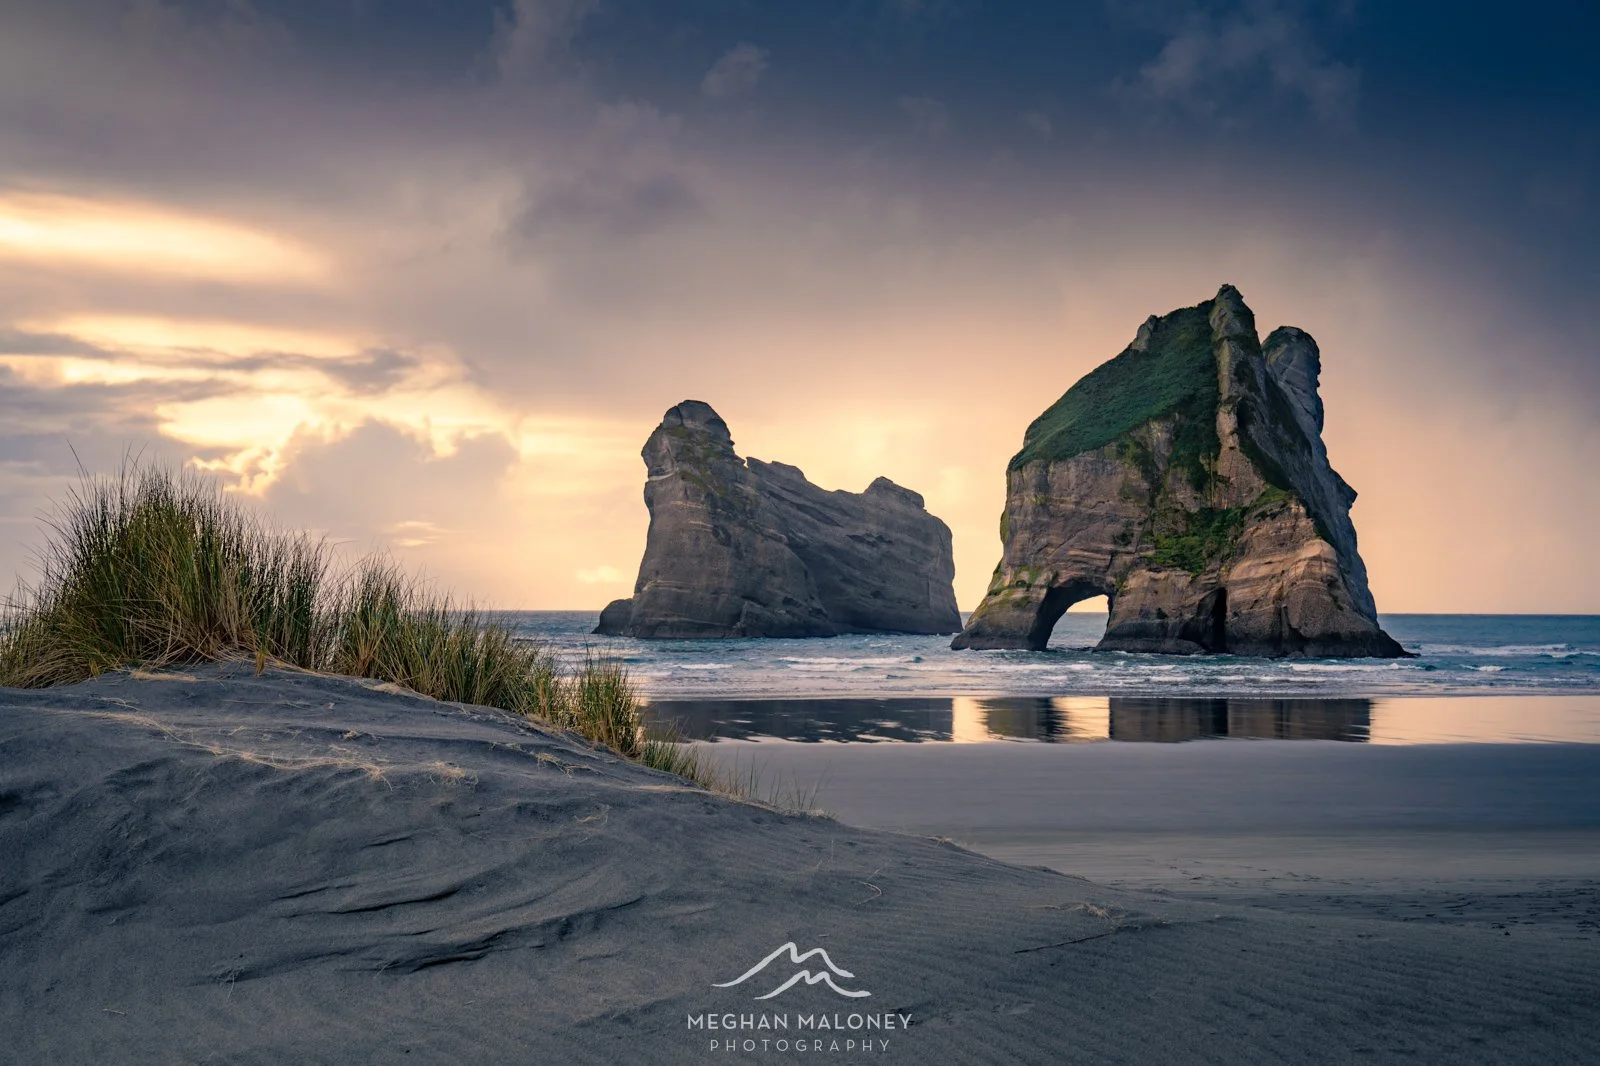
A sudden clearing rain shower at sunset brings an unusual combination of light and drama in the clouds at Wharariki Beach
These conditions can change incredibly quickly, so if things look promising, get your composition sorted and be ready to shoot. If the weather appears to be moving through rather than completely settled in, it can be worth waiting 30–60 minutes to see what happens. A clearing shower with the sun behind you is a particularly good time to look for rainbows.
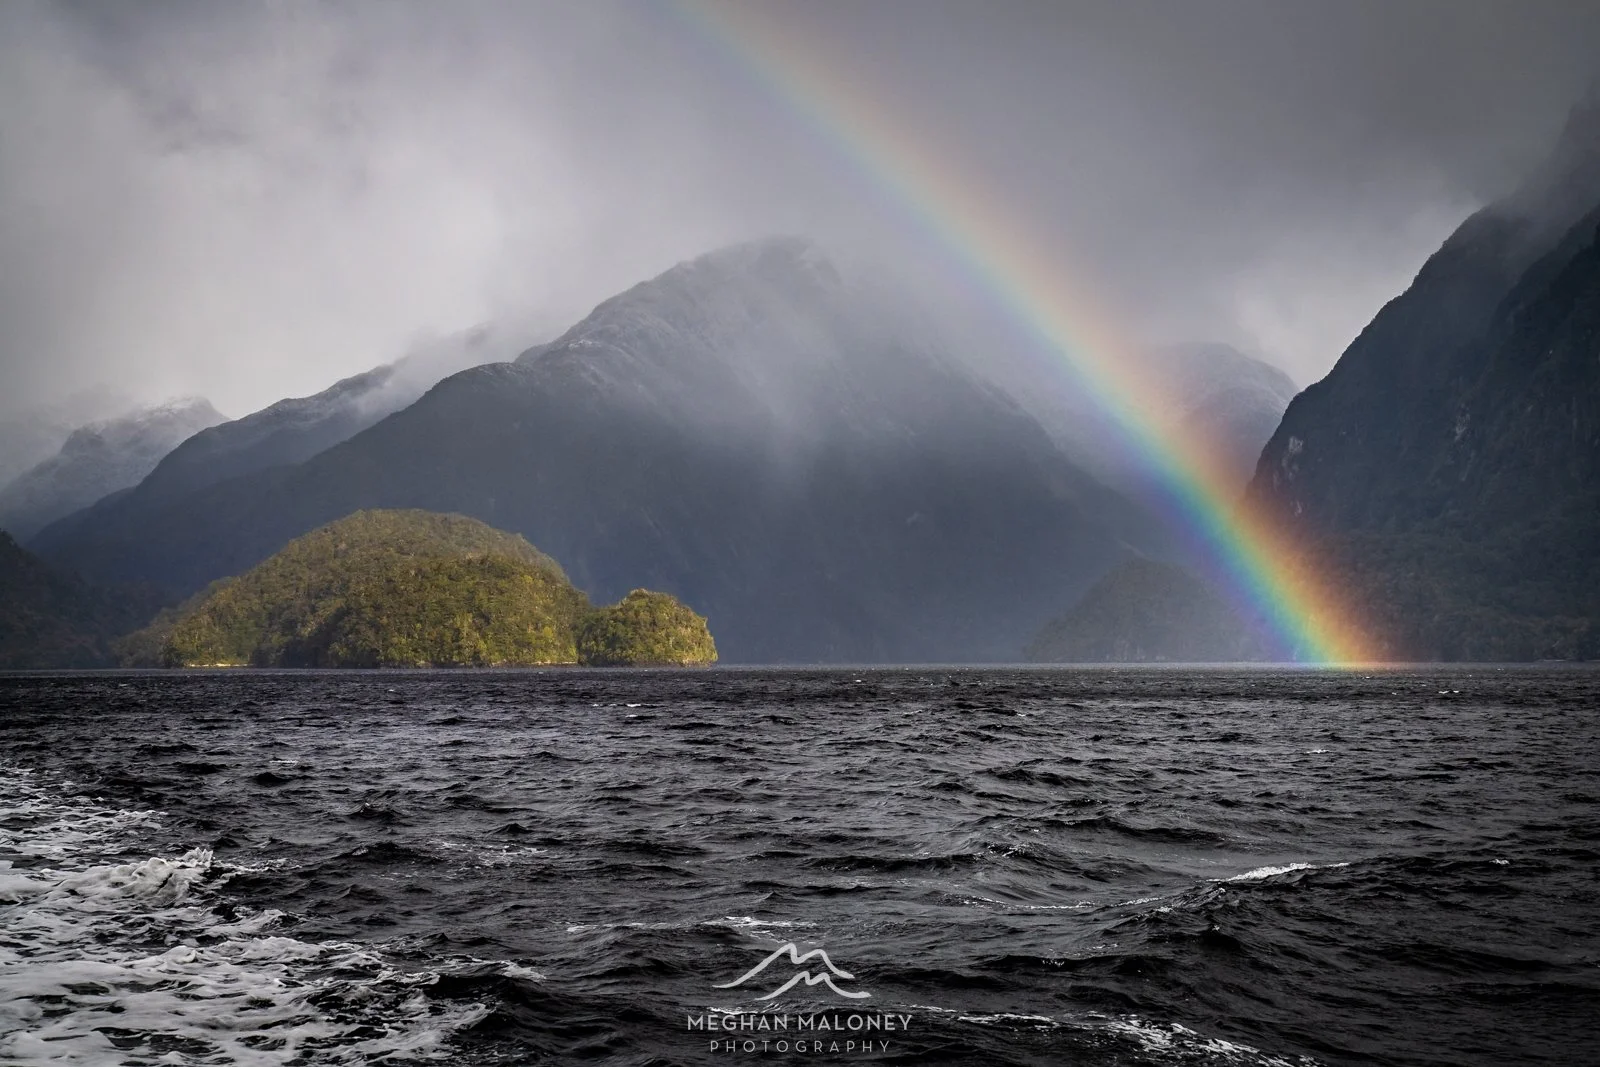
A small island in Doubtful Sound is illuminated by sunlight and an intense rainbow as the weather clears
Stormy conditions can also create a very wide range of brightness, from deep shadows beneath the clouds and in the foregound to extremely bright patches where sunlight breaks through. Keep a close eye on your histogram and expose carefully to protect those brighter areas and retain highlight detail. A slightly darker exposure can help preserve the natural drama of a stormy scene, whereas an overly bright section of cloud is very hard to fix later!
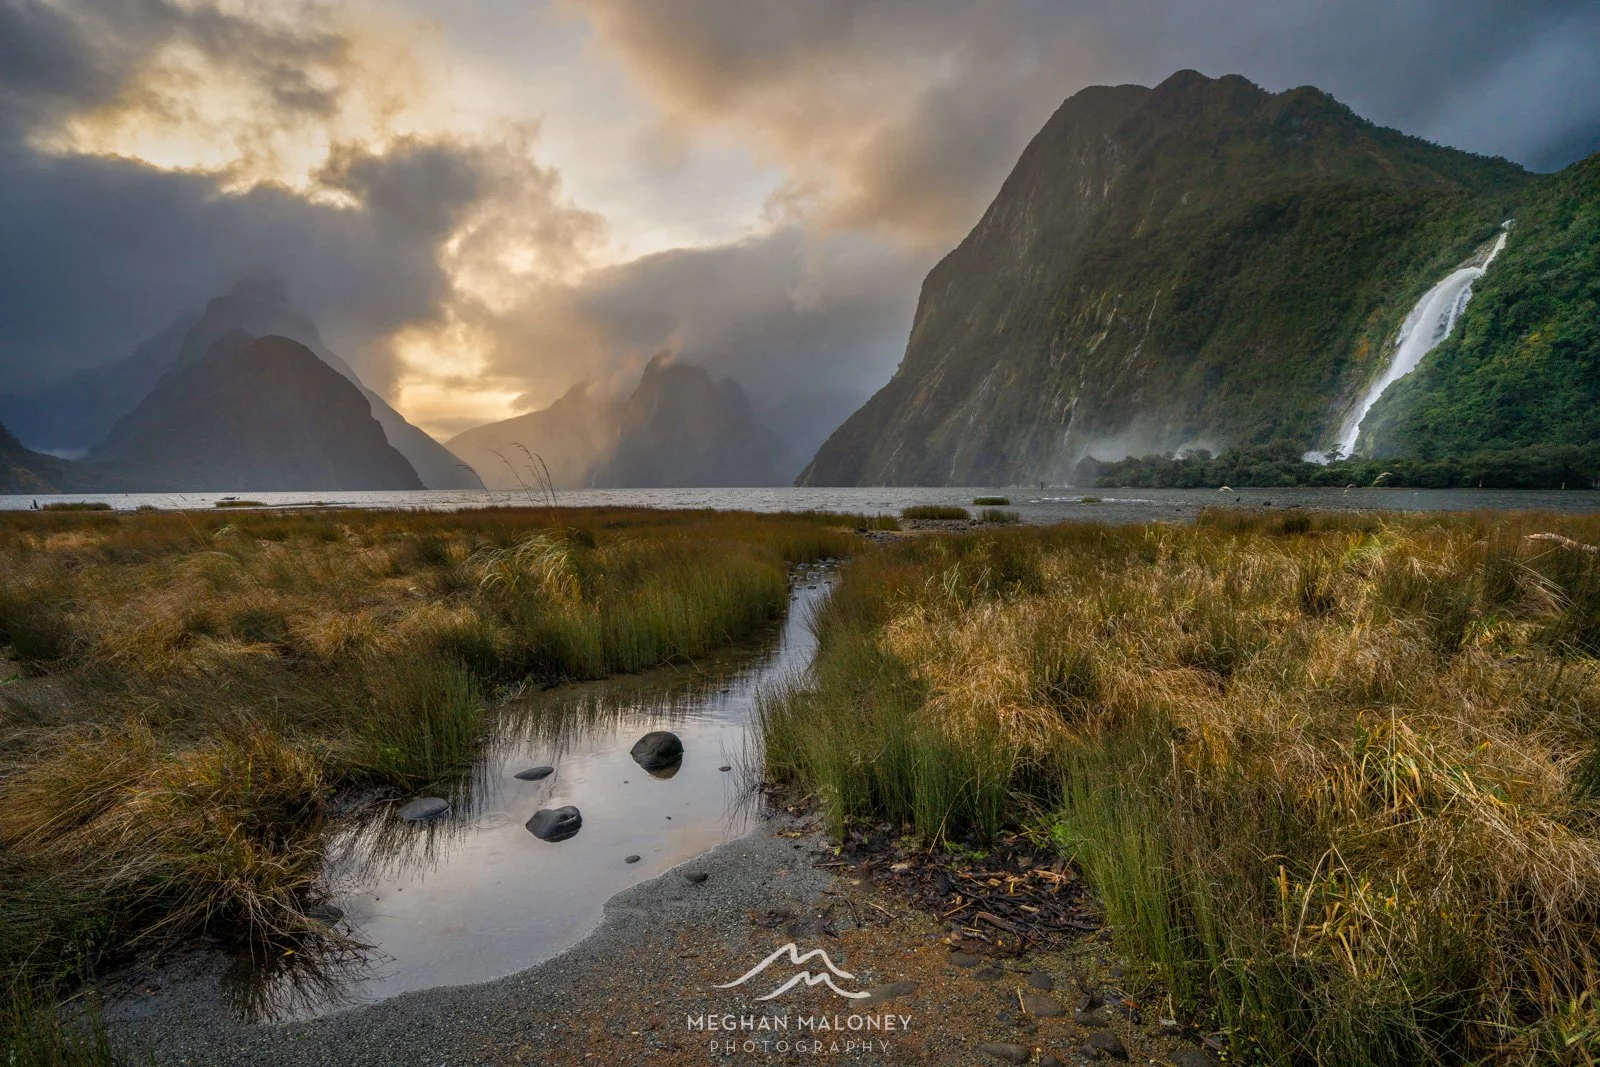
This image of Milford Sound at sunset was underexposed by 2 EV to retain the colour in the sky but still allowing the foreground to be lightened in post processing.
There's no guarantee that heading out during the transition between one weather system and the next will pay off, but when it does it can produce extraordinary, never to be repeated light.
Tip #6: Don’t give up when the landscape disappears - WAIT!
It can be so frustrating to arrive at a location only to find that a mountain view has completely disappeared behind cloud. Before giving up, watch how quickly the cloud is moving and which direction it's travelling, and if you can, check the satellite coverage to give you a better indication of what weather is coming through in the next little while. If you're seeing occasional gaps or glimpses of the mountain, get your camera set up and your composition sorted before a view appears - you may only have a few seconds to shoot when it does. Use a shutter speed fast enough so that you can shoot a short sequence of images as the cloud moves across the scene rather than trying to anticipate that single perfect moment.
If the entire mountain isn't visible, change the way you compose the scene. Try a longer focal length like 70-200mm or even longer to isolate a peak emerging through the cloud, or repeating layers of ridgelines appearing and disappearing in the mist. If sunlight is also breaking through, watch for small areas of the mountain being illuminated but expose carefully for those brighter highlights.
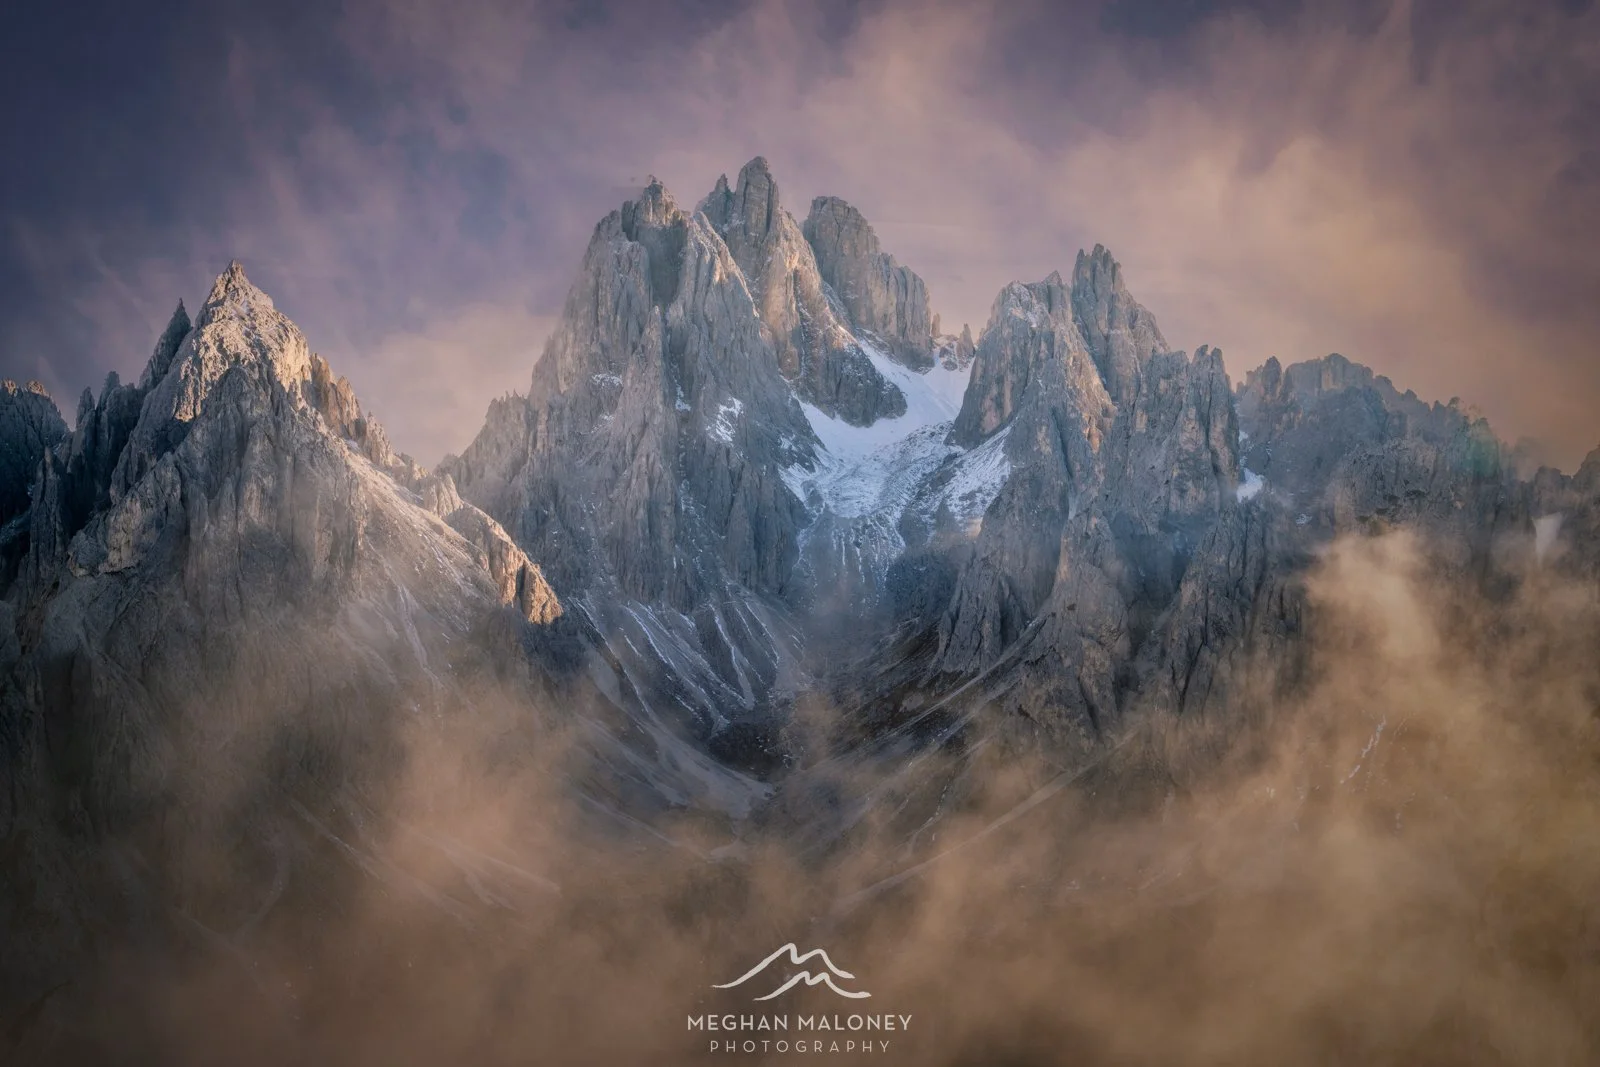
The clouds rolling through provided the perfect opportunity to focus on just the mountain peaks rather than the whole vista at Cadini di Misurina in the Dolomites
Most importantly, don't assume you need to see the whole mountain to make a successful photograph. Try deliberately using the cloud as part of your composition, allowing it to hide less interesting areas and concentrating on only the parts of the landscape that are being revealed. Take photographs throughout the process as conditions change: a tiny glimpse of a summit, half a mountain surrounded by cloud, and maybe the wider view if it does clear. Be prepared to change your composition as different features appear, i.e. you might need to quickly switch between horizontal and vertical framing or change focal lengths for the best framing.
Tip #7: Learn to read the forecast like a photographer
When I'm planning a photography shoot, I don’t just abandon a shoot because there’s rain on the forecast. I'm much more interested in when the rain will arrive, when it might stop and what the weather will be doing immediately before and afterwards. I also look at how much cloud is forecast, the height of that cloud and which direction the weather is moving. Around sunrise and sunset, I'm particularly interested in whether there might be a gap in the cloud towards the horizon that could allow light to break through.
It's also useful to understand the difference between cloud cover and cloud height. A forecast of 80% cloud doesn't necessarily mean the landscape will be hidden, it may be high cloud that creates texture and colour in the sky while leaving mountain peaks completely visible. Low cloud is much more likely to fill valleys and hide views, but that can also create some of the atmospheric conditions I've talked about in earlier tips. Wind direction and speed can help you work out how quickly conditions might change, while looking at the timing and movement of rain can tell you whether you're dealing with an isolated shower that might clear or a much larger area of rain that is going to stick around.
I use multiple weather apps to plan in advance such as Windy.com and Yr.no, as well as rain radar and satellite imagery when I'm already out shooting. Radar lets you see where the rain actually is and the direction it's travelling, which can help you judge whether it's worth waiting for a shower to pass or moving to somewhere else. Satellite imagery is useful for seeing breaks and edges in cloud that a simple cloud-percentage forecast can't show you. If you're hoping for fog, the closer the temperature is to the dew point, the greater the potential for fog to form if other conditions are favourable, I’ve learnt the hard way though that fog forecasts can be incredibly fickle! Learning to interpret these different pieces of information gives you a much better chance of being in the right place when the interesting weather arrives.
Tip #8: Use the light that bad weather gives you
It’s easy to fall into the trap of thinking that landscape photography requires golden light or incredibly dramatic light, but soft, muted overcast conditions can be exactly what some scenes need. When the sky is essentially a giant softbox, harsh highlights and deep shadows disappear and the light becomes much more even across the landscape. This can be ideal for shooting waterfalls and rivers, where any strong lighting differences would create distracting patches of light and make controlling the dynamic range difficult.
Flat grey light also changes what you should look for in a composition. If the sky has no colour or texture, don't feel you have to include it. Instead, look for scenes where shape, texture, pattern or movement can become the hero of the image. Fill the frame with patterns created by water flowing around rocks, use a telephoto lens to isolate details in the landscape, or look for a strong subject that stands out against otherwise muted surroundings like in the image below. Grey conditions can be particularly good for minimalist compositions because there is less dramatic light competing for attention, so rather than trying to make an uninteresting sky work, minimise it or exclude it altogether and concentrate on the strongest elements that exist within the landscape.
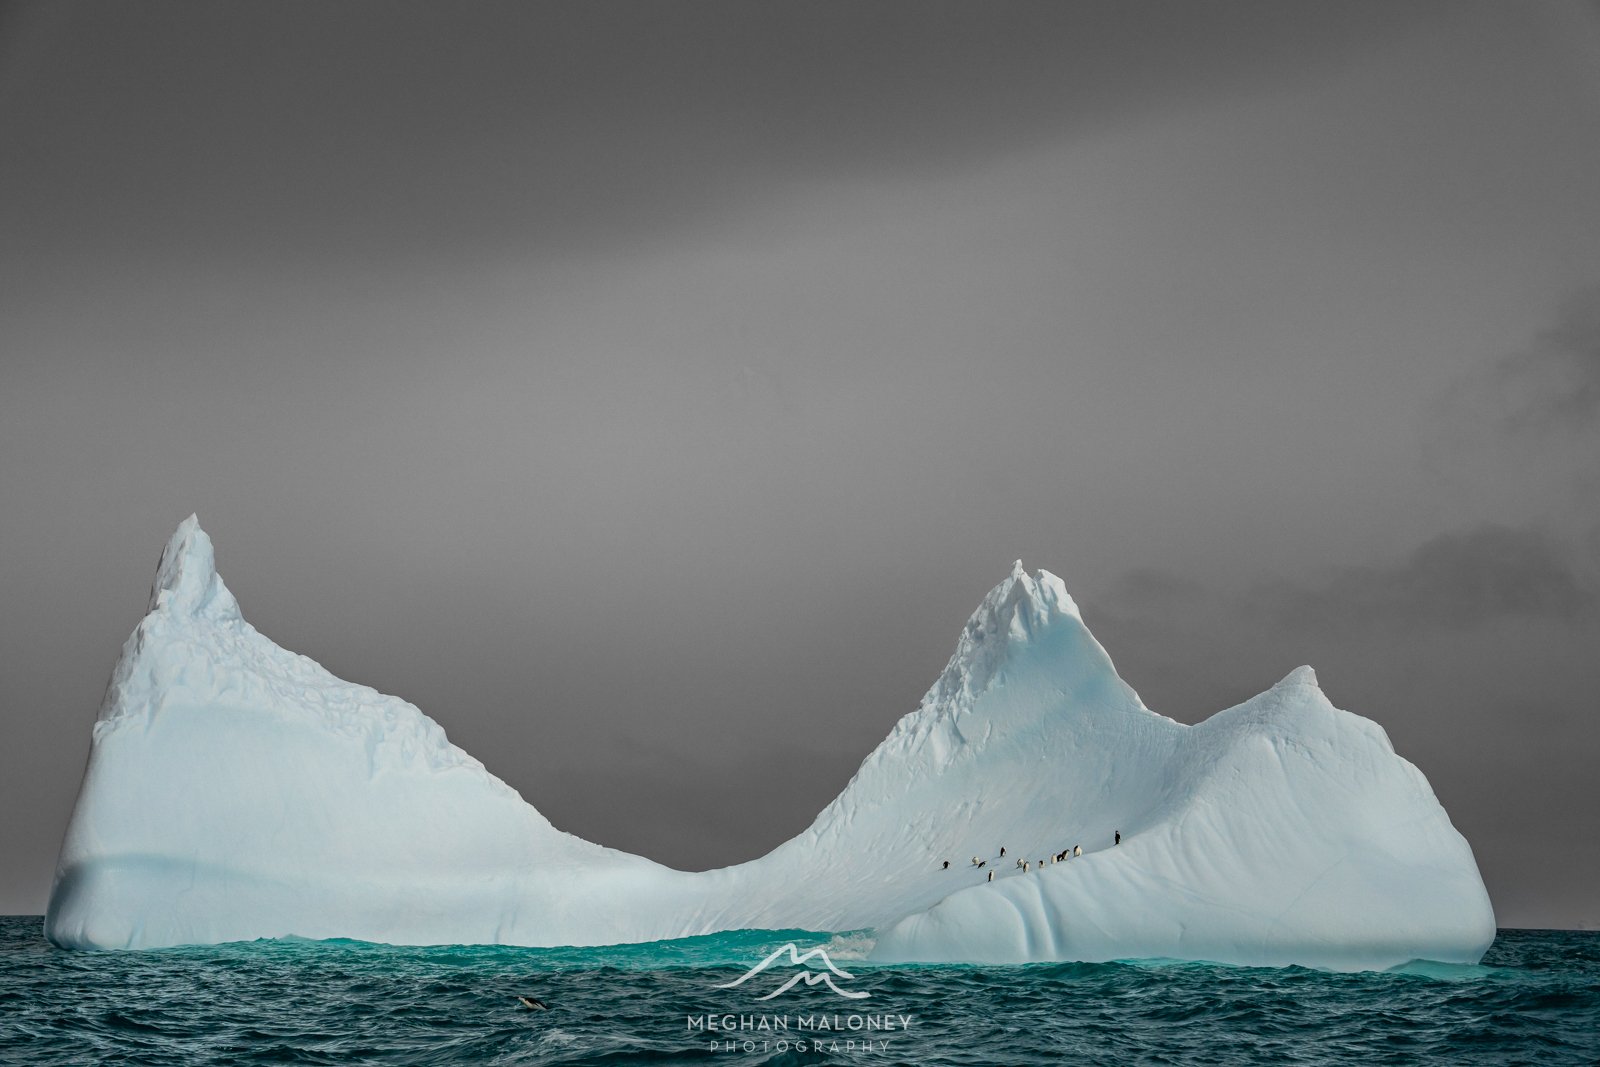
Overcast conditions in Antarctica allow the subtle tones of the ice and the amazing water colour to steal the focus.
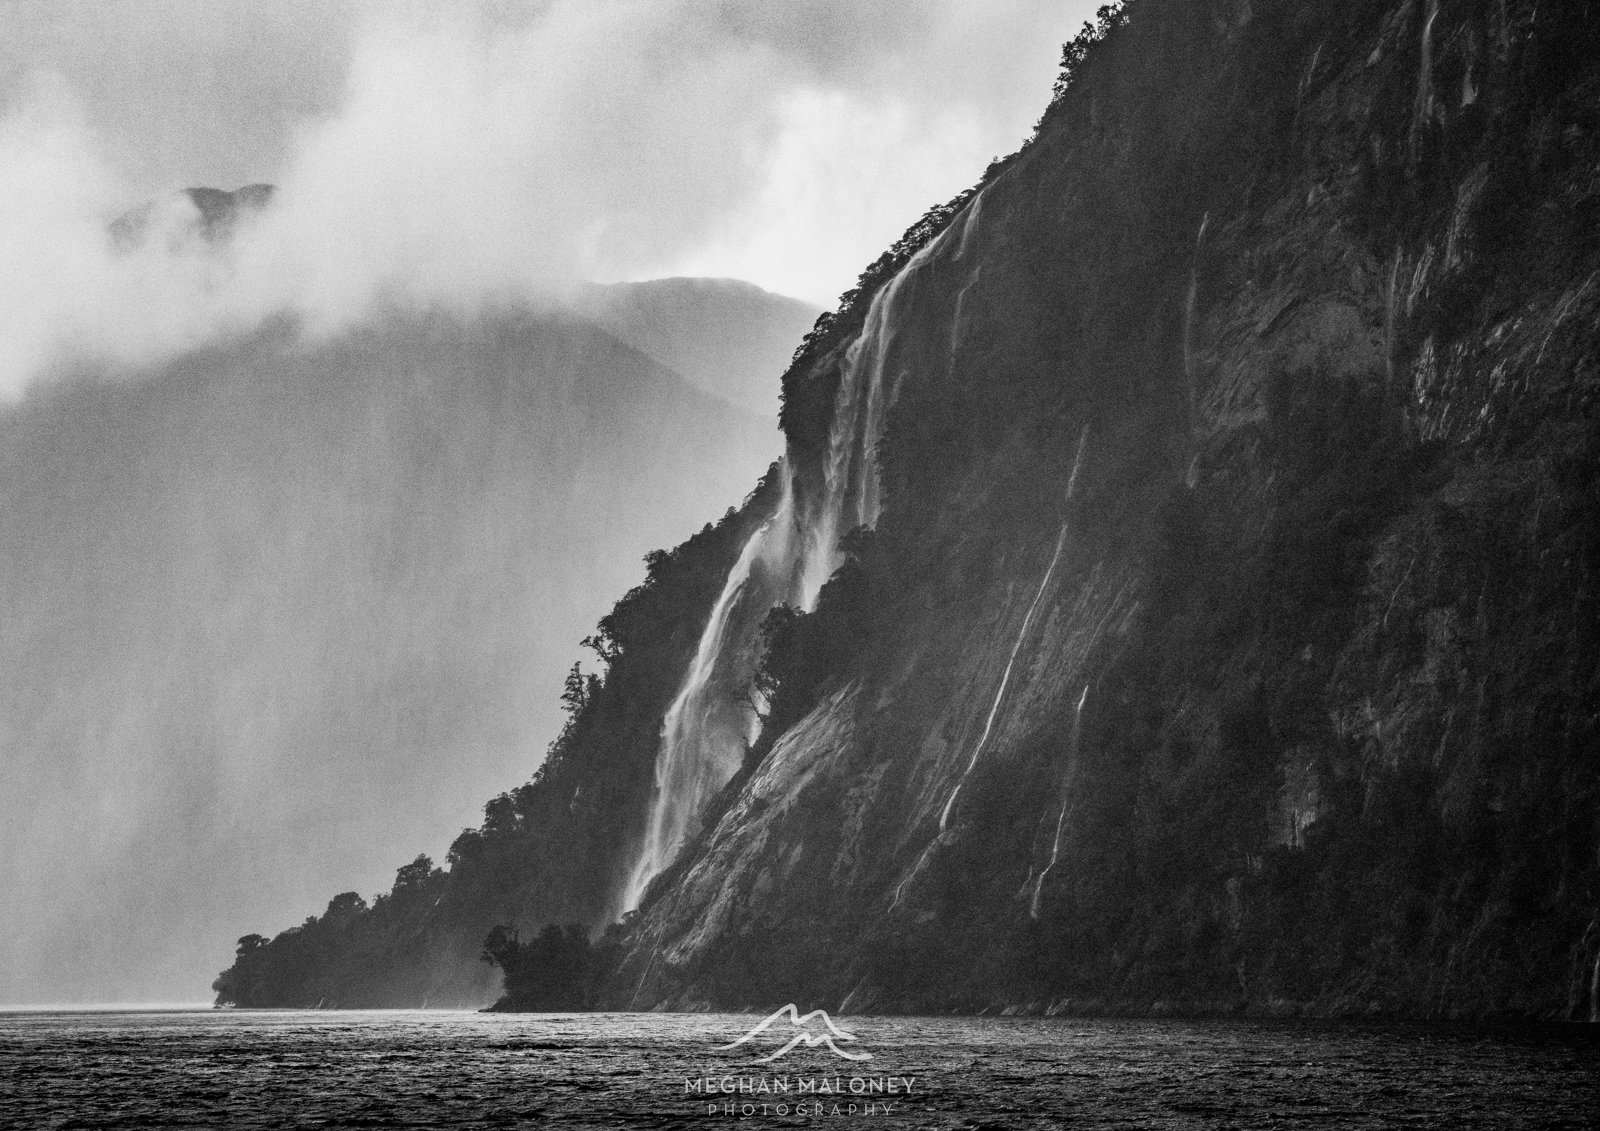
I've experienced this first-hand photographing in places like Antarctica and Doubtful Sound, where I actually prefer grey, overcast conditions to bright sunshine. In Antarctica, soft light brings out the subtle blues, greys and textures in the ice without the harsh highlights and deep shadows you get on a sunny day. Doubtful Sound is another landscape that seems made for moody weather - layers of mountains disappearing into rain and mist, waterfalls cascading down dark cliffs and low cloud hanging over the fiord. It's also somewhere where it’s easier thinking in monochrome.
When you start thinking in monochrome, the emphasis shifts away from colour and towards contrast, shape, texture, lines and tonal separation. Try looking at the scene in terms of its light and dark areas, you could even use your camera's black & white profile while still shooting in RAW. You'll retain all the colour information in the RAW file, but seeing the scene in black and white on the back of the camera can help you recognise compositions that you might otherwise overlook.
Tip #9: Bad weather suits long exposures
One advantage of dull, overcast weather is that the lower light levels are often perfect for longer exposures. Moving water, waterfalls and waves are obvious subjects, but don't forget about movement in the sky too. When clouds are being pushed quickly across the landscape, a long exposure can turn an otherwise flat or messy-looking sky into sweeping streaks that add more movement and drama to the image.
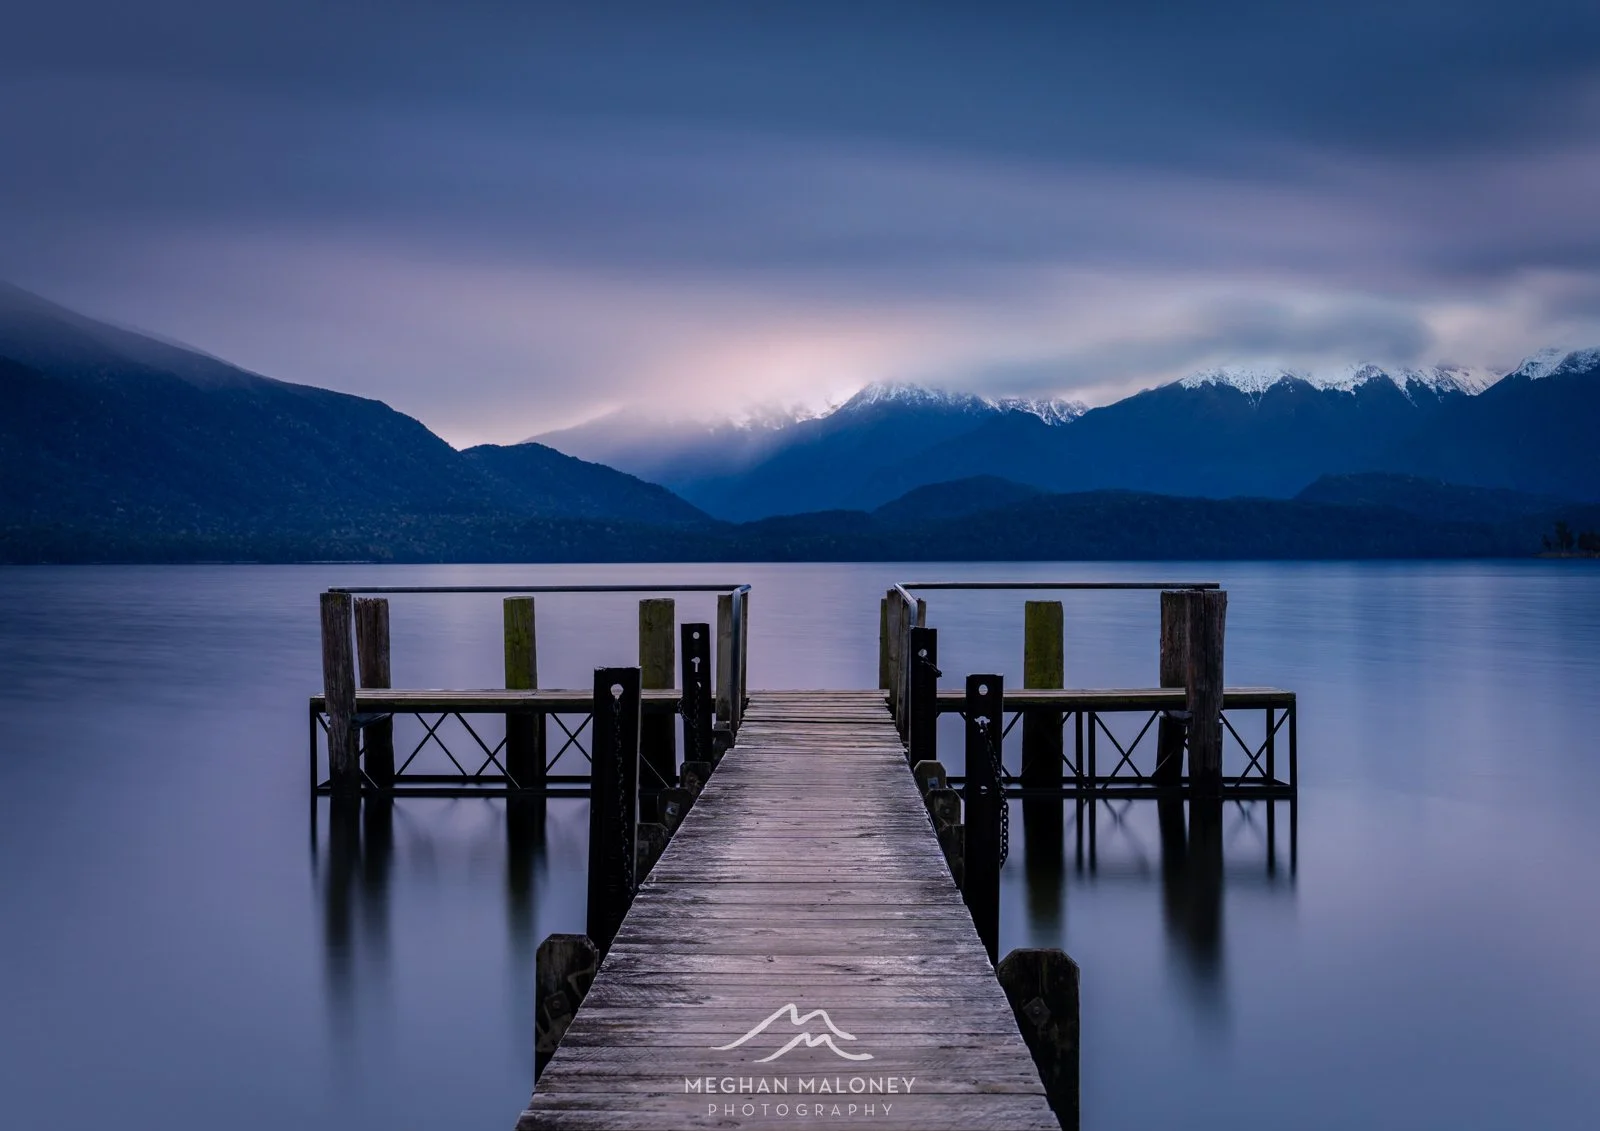
A 90 second exposure at the Te Anau jetty during a low cloud moody sunset creates more drama and interest in the sky as well as smoothing out the lake.
Experiment with different shutter speeds and think about how much movement you actually want to show. Half a second might retain texture in moving water whereas an exposure of 30 seconds or even up to several minutes can completely smooth water and stretch clouds across the frame for a much more surreal effect. If it's windy, make sure your tripod is stable and watch for other elements moving during the exposure, you may love the movement in the clouds and water but you don’t want your foreground elements blurred as well!
Tip #10: Staying safe in bad weather
Being prepared for bad weather isn't just about protecting your camera, keeping yourself warm and dry is just as important. A good waterproof jacket, trousers and footwear as well as warm layers underneath that stay dry can make ALL the difference between packing up after ten minutes and being happy to wait another hour for the conditions to change or simply carrying on shooting in the rain. I also carry rain protection for my camera and pack, and as I mentioned earlier, several microfibre cloths to keep my lenses and filter dry. If you're comfortable and your gear is protected, you're much more likely to shoot out in the rain or have the patience to stay in position and wait to see if conditions improve.
There's an important difference between bad weather and genuinely dangerous weather though. Rain, fog, mist and storm clouds can provide fantastic photographic opportunities, but that doesn't mean it's sensible to head out in every type of weather. Lightning, extreme winds, flooding, large coastal swells, icy roads and tracks and deteriorating conditions in exposed alpine locations are all reasons to reconsider your plans or leave a location. Conditions can change particularly quickly in New Zealand's mountains and coastal environments, so keep an eye on what's happening either in the moment or by choosing not to go out if conditions are marginal. No photograph is worth putting yourself, or anyone with you, in danger!
In Conclusion
The biggest lesson I've learned from photographing landscapes in all kinds of conditions is that there really isn't one definition of "good" photography weather. Golden light and colourful skies can be wonderful, but so can fog drifting between mountain peaks or through the forest, a storm rolling across the coast or soft grey light on landscapes that suits these conditions . Every type of weather changes a landscape in a different way, and each creates its own unique opportunities.
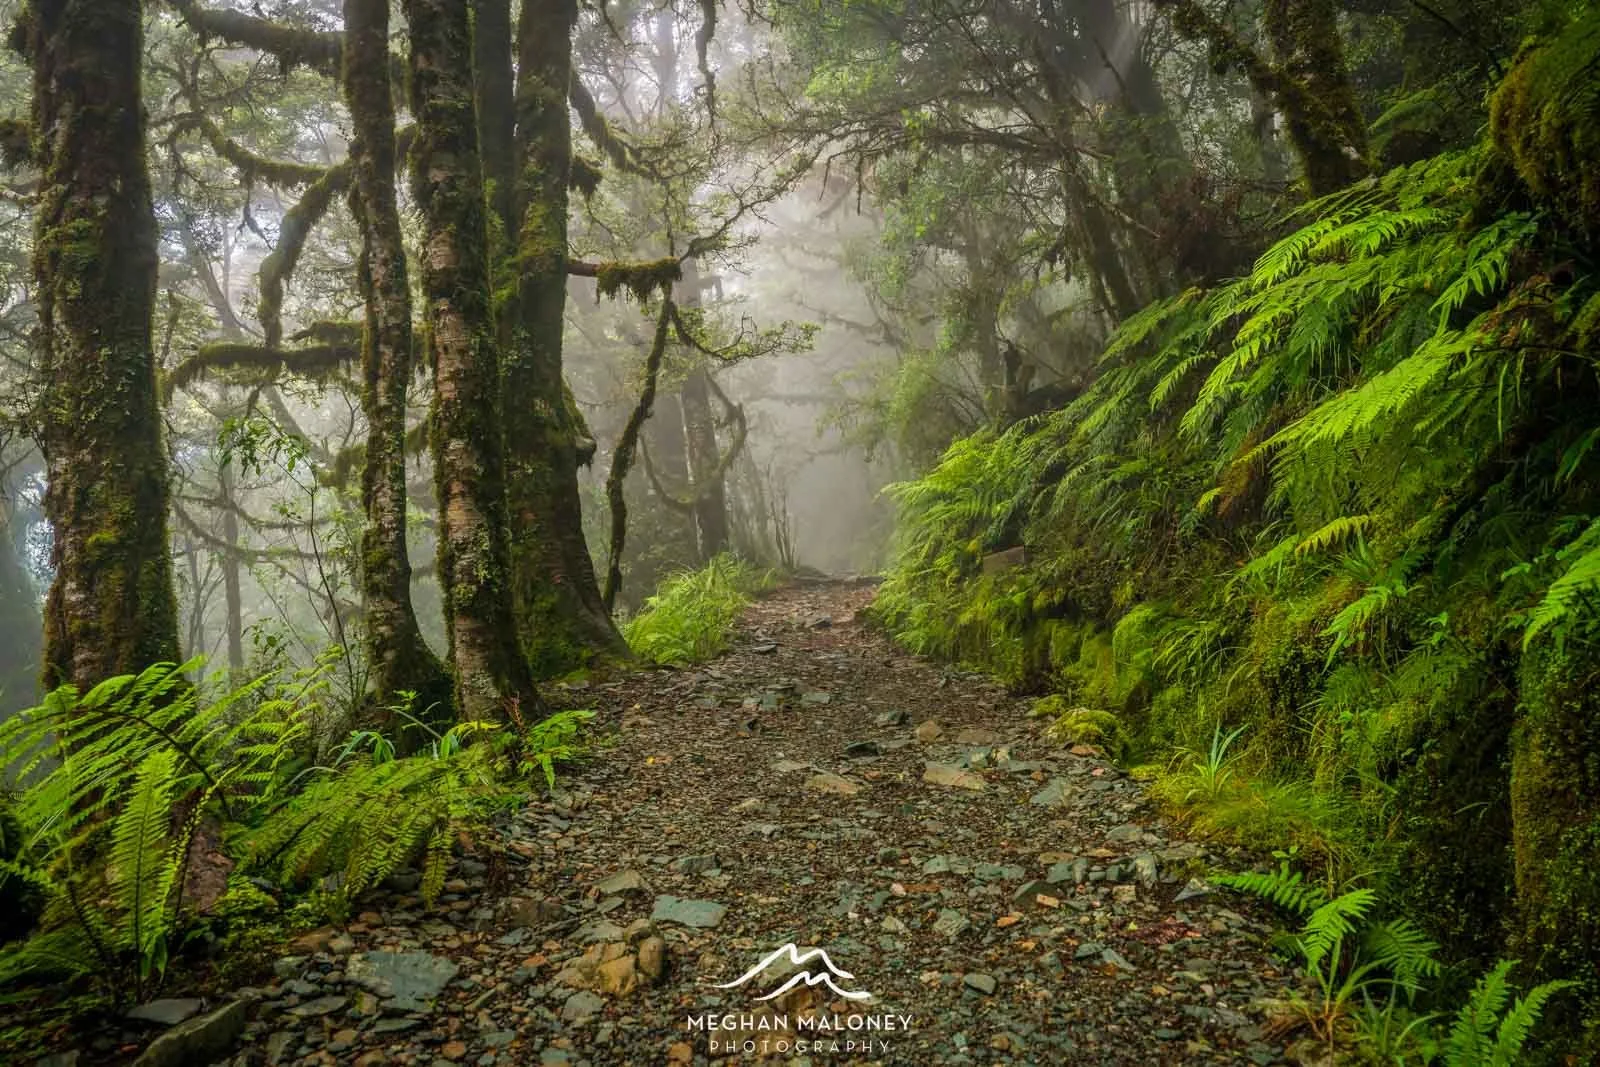
The key is learning to recognise those opportunities rather than being disappointed that the conditions don't match what you had in mind. Sometimes you'll still come home without the shot, but that's just the nature of landscape photography - it fits my saying that "landscape photography is about 90% frustration and 10% elation!"
BUT, the more willing you are to work with whatever nature gives you, the greater your chances of creating something unique.
So next time you look at the forecast and see rain, mist, low cloud or showers, don't automatically write the day off. Pack your waterproofs, grab a few extra microfibre cloths and go out with an open mind. Bad weather doesn't have to be something you just endure - sometimes it's the very thing that makes the image great.